Destination Wedding
We got married in Puerta Vallarta in 2021. It was amazing!
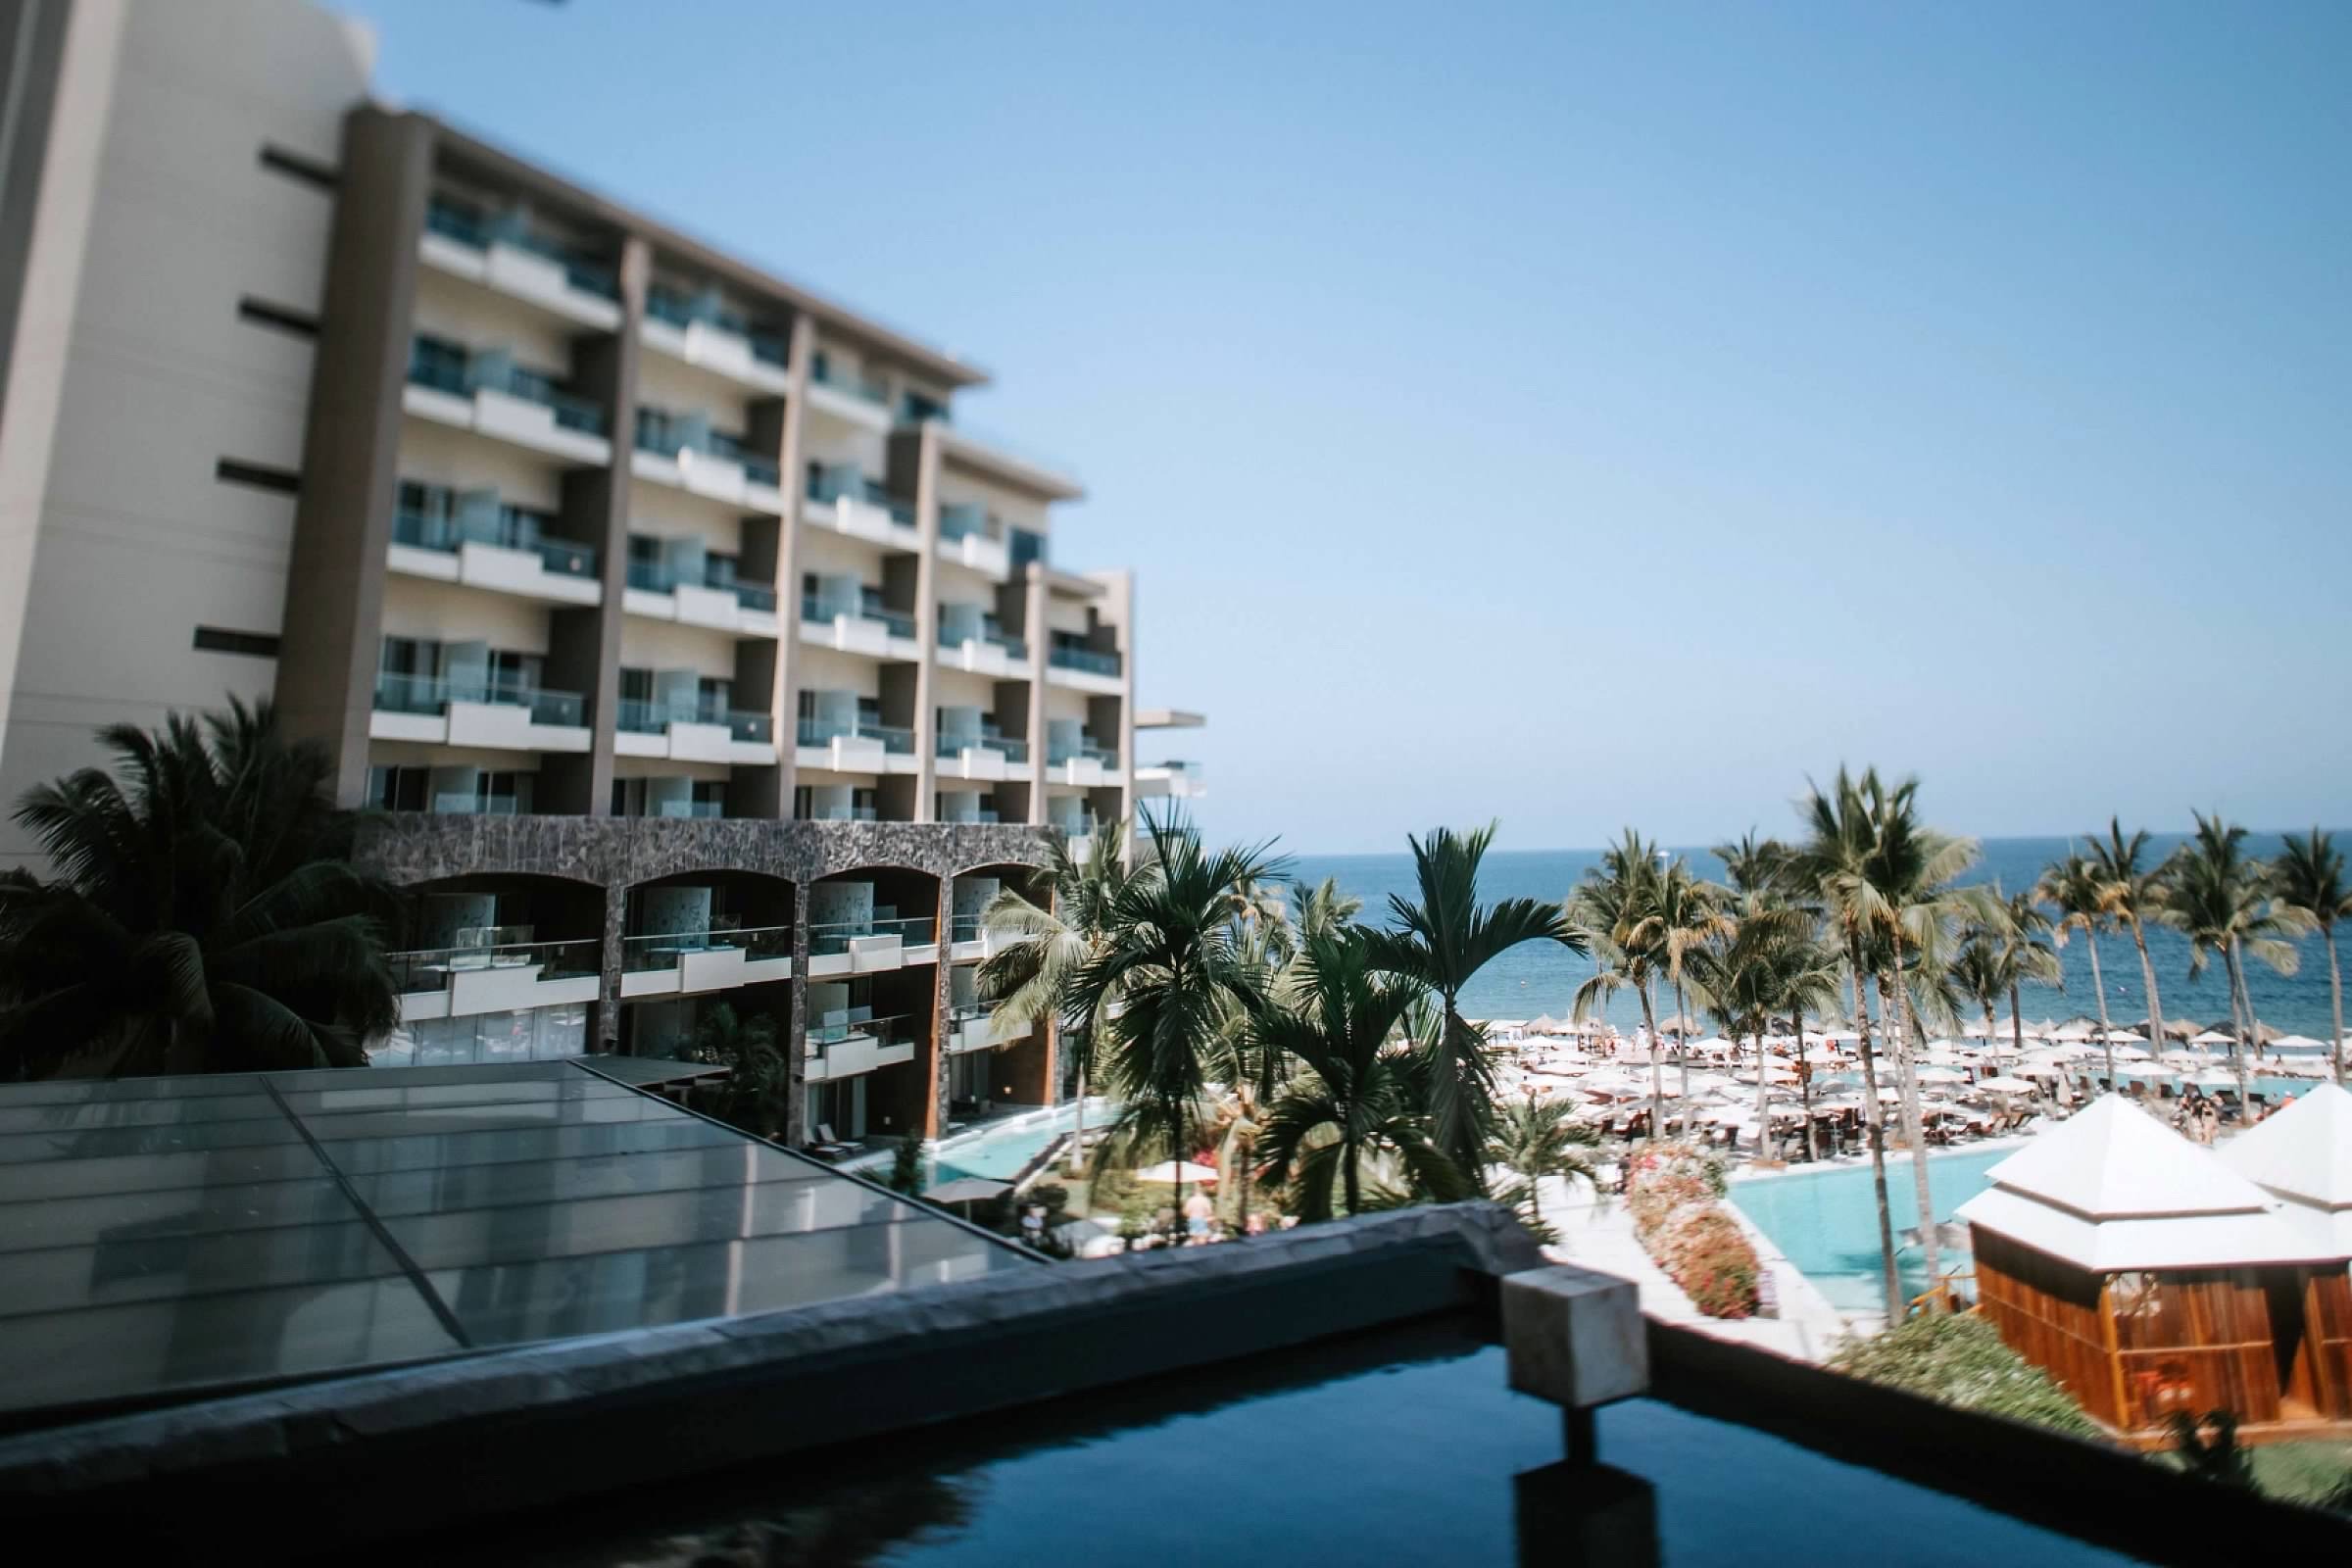
View from resort lobby at Secrets Vallarta Bay, in Puerto Vallarta, Mexico
We got married at Secrets Vallarta Bay in Puerto Vallarta, Mexico on 5.31.21, and when I tell you it was STUNNING — I mean it.
A destination wedding was absolutely perfect for us. I didn’t want our wedding day to feel like another PR event. I wanted to actually spend the day with Mike, not take photos for two hours, and then sit by each other while we eat, and call it our wedding day. I often hear from people that they wish they would have done a destination wedding, for those exact reasons. I hear of all the stress and anxiety leading up to “the big day,” and I’m here to tell you that I absolutely did not experience that, whatsoever. I’ve had several people ask me about how we planned it, and I throught typing it all out might be helpful to someone else as well!
The Travel & Venue
I started by contacting a local travel agent, with experience in a large group traveling to Mexico, specifically. Our agent is now retired, so I can’t make a suggestion, but a quick google search will work! We used a travel agent because I did not want to be responsible for arranging for 40 people to travel to Mexico, from all over the country. She handled all payments, bookings, and our transportation to/from the airport to the resort. We had some last minute travel needs for our friends that missed the flight, and she totally saved us! We also had some friends run into their connecting flight home getting canceled, which she figured out as well. Definitely worth the $20 per person added to your trip price!
Prior to reaching out to our agent, my husband and I decided what we wanted to have included at the resort, so I’ll list those items here!
Adults only, all inclusive resort with availability for 25 families, during our specific dates
Price was around $1500 per person for 5 days
Golf on the resort, or nearby
Close to the airport
West side of Mexico (I just like the weather better on the West side. If you prefer crystal blue water, I’d go for East side; just know it will likely rain a little each day.)
Our agent got to work, and sent us back a list of roughly seven options. I’d like to mention that not a single resort met every request, so we had to prioritize what what most important to us! Those priorities ended up being price, availability during our dates, all inclusive, and no kids. We narrowed it down to a list of two, and landed on Secrets Vallarta Bay.
Why? Secrets just had a vibe I thought was super boujie and relaxing. The resort looked incredibly clean, and my travel agent had already been there personally, and agreed to my comments. The staff was trustworthy, reliable, and incredibly kind. No one tried to upsell us at the resort, and I felt super safe the entire time. And can we talk about the spa at Secrets Vallarta Bay? I had a massage, a facial, and they have this amazing ‘water journey” with 7 different steps you can take alone, with your partner, or a group. It was some of our guests’ favorite part of the trip (besides the wedding, I hope — can’t be sure 🤣)
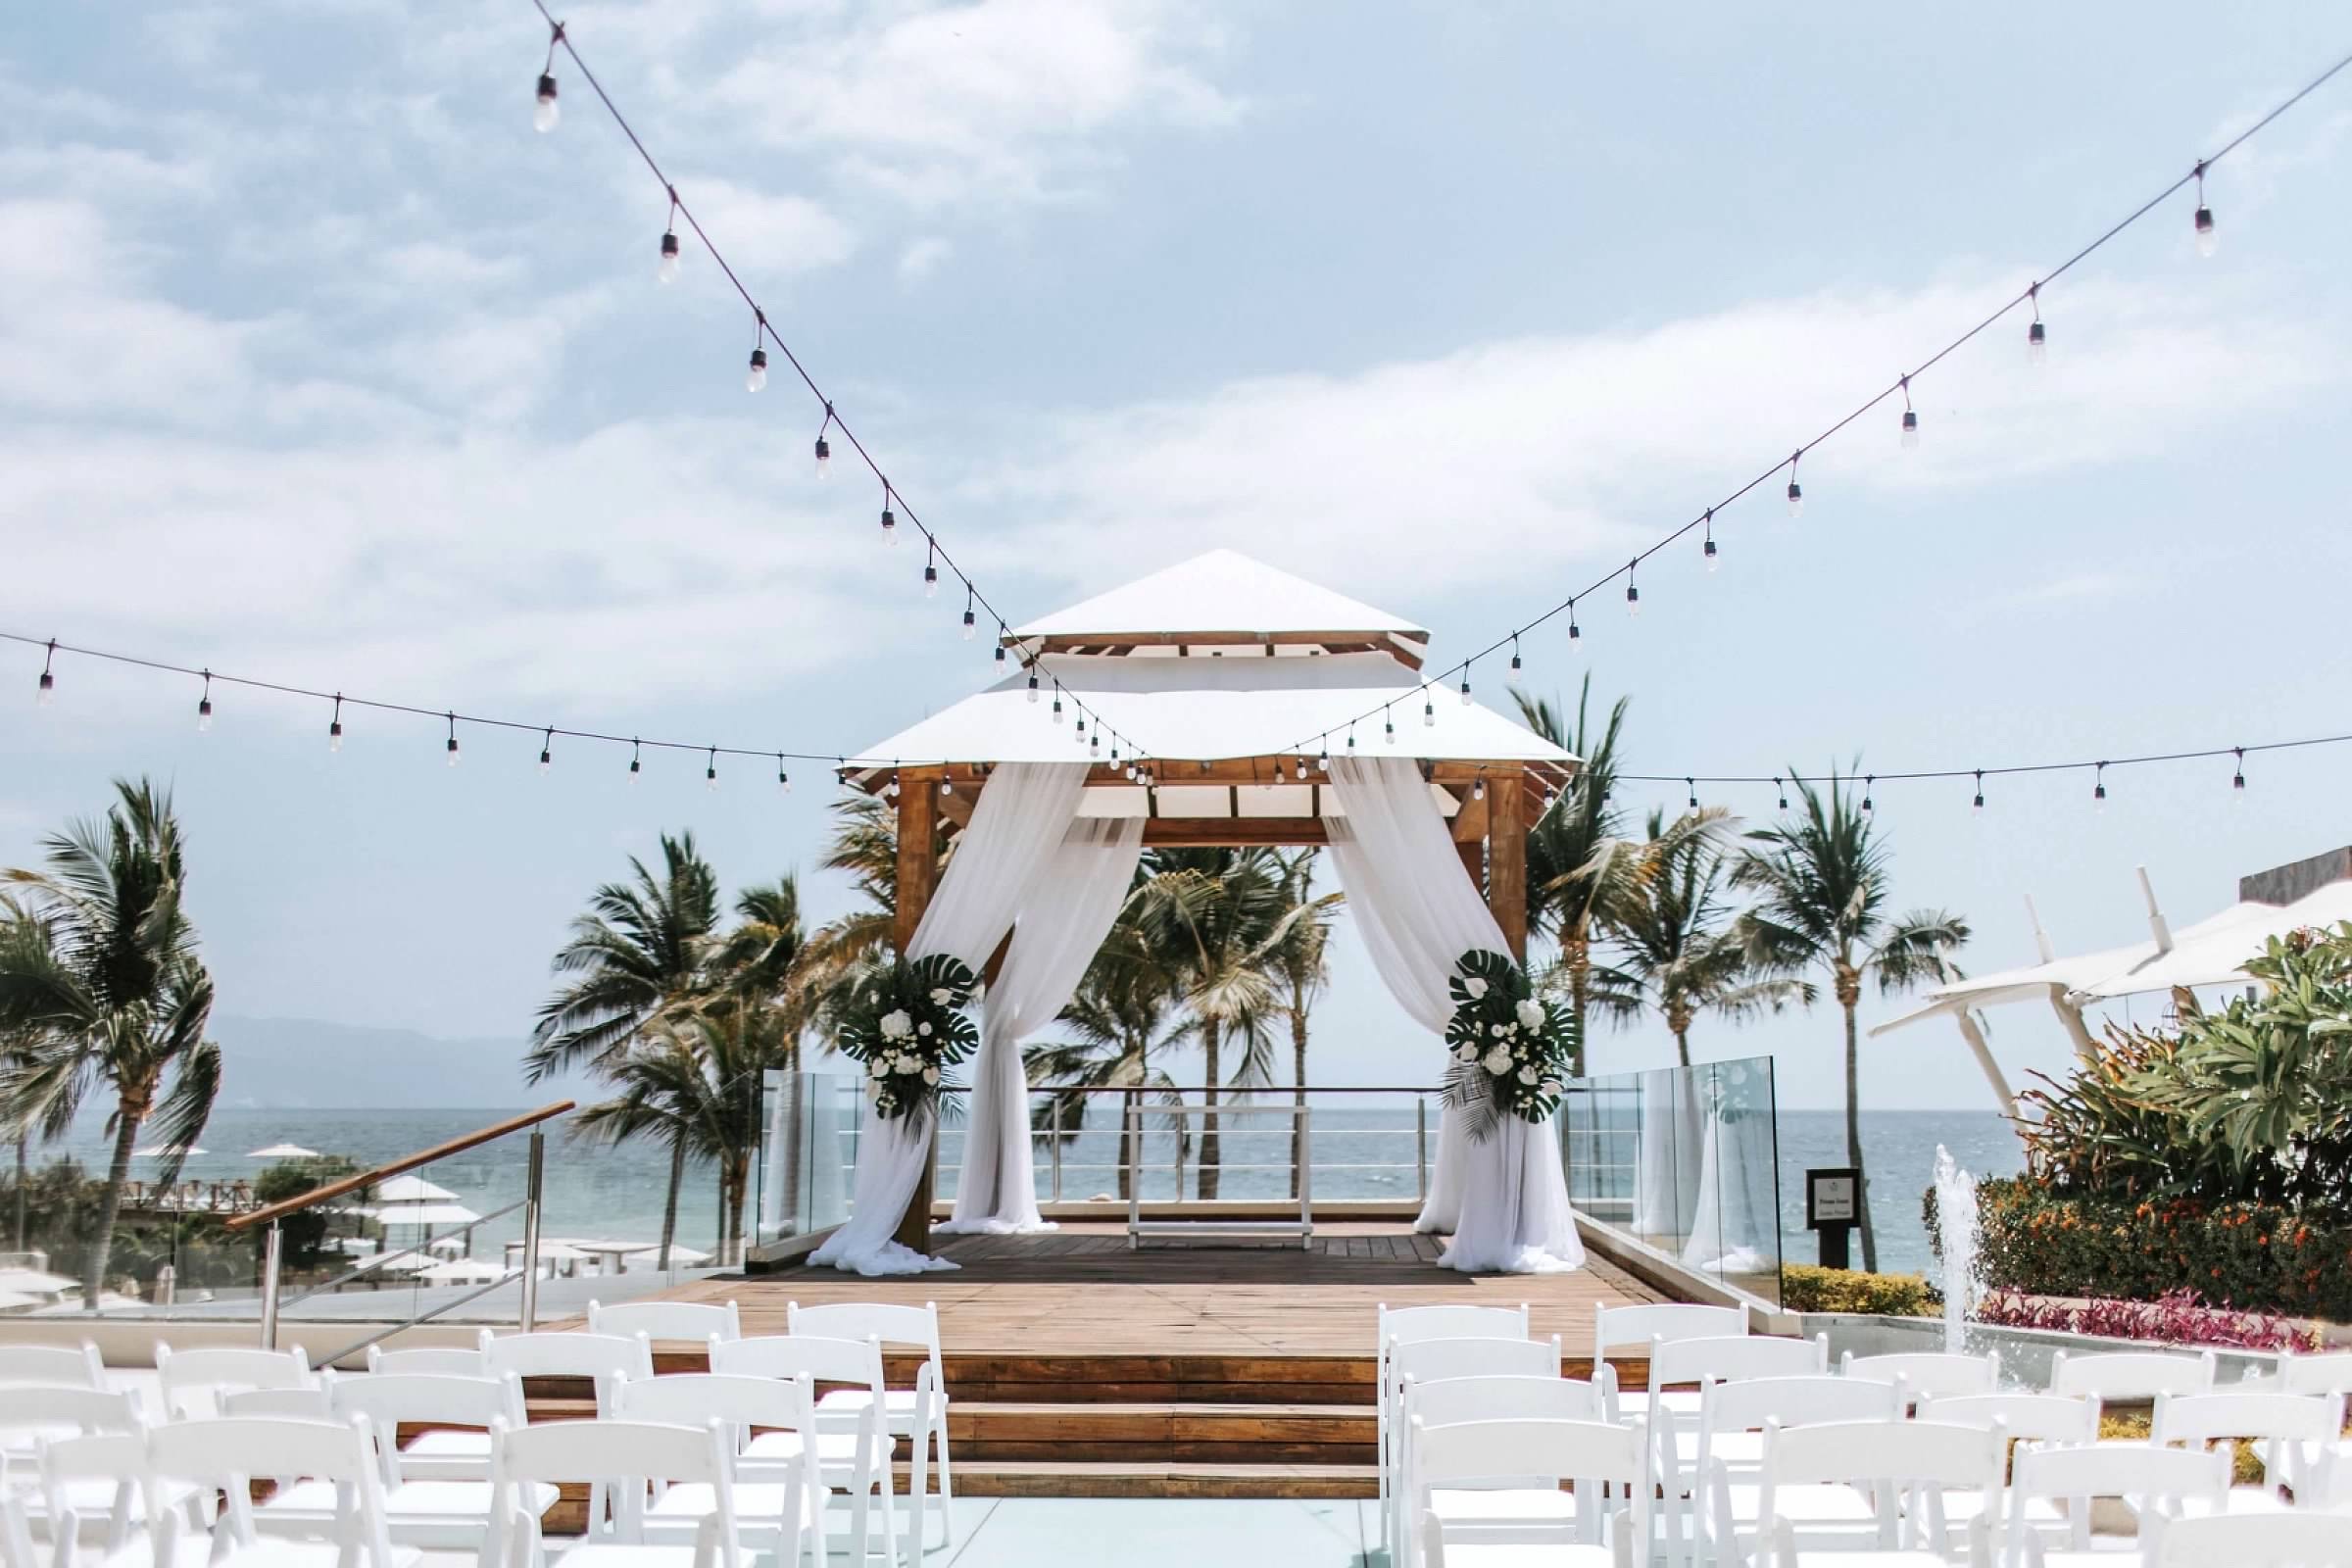
Wedding reception area at the resort (raised from the beach/pool area, with the hotel rooms wrapped around it)
The Planning & Wedding
My favorite part was our complimentary wedding coordinator, Patricia. We connected via WhatsApp, and she helped me every step of the way! We got engaged July 4th, and the wedding was May 31st the following year, so we only had 10 months to plan a wedding in another country, for my very specific vision. I didn’t want a traditional sit down dinner, cake cutting, or beachside wedding, so I had to do an a la carte wedding. It was really hard for the wedding planner and all the vendors to understand that I did not want one of their traditional packages. I even tried communicating this to them in Spanish, and it was till a big hassle. My suggestion is that if you’re going the a la carte route, is that you make a spreadsheet with formulas for total costs, to break down each item you’d like. Also keep track of your payments made, amounts, and dates in that same spreadsheet. I also suggest keeping screenshots of your bank statements when the payments were made! We had an issues with the resort accountant claiming we owed them $2500, two hours before the ceremony 😵💫 which was incredibly stressful while getting my hair/makeup done.
Ihere are all the items I chose a la carte! Imitation is the greatest form of flattery their is, and I’m sharing all of this to help! If you copy/paste to your big day? Awesome! I won’t share prices just because they may have changed, and I don’t want anyone to be upset if they now differ.
Raised wedding venue, off the beach
Patio lights
White linen curtains
Alter floral arrangements (totally worth it, look at those bad boys)
Table for wedding officiant
White chairs
LED dance floor (12x12 - this was the perfect size for our 40 guests)
Private DJ playing a playlist we built in Spotify (DJ package comes with lights, equipment, etc.)
5 heavy appetizers/canapes that were served throughout the cocktail hour post wedding
Private bar w/ 2 staff (alcohol was all inclusive)
We ended up adding giant patio umbrellas for our guests an hour before the wedding due to the heat/sun
The Details
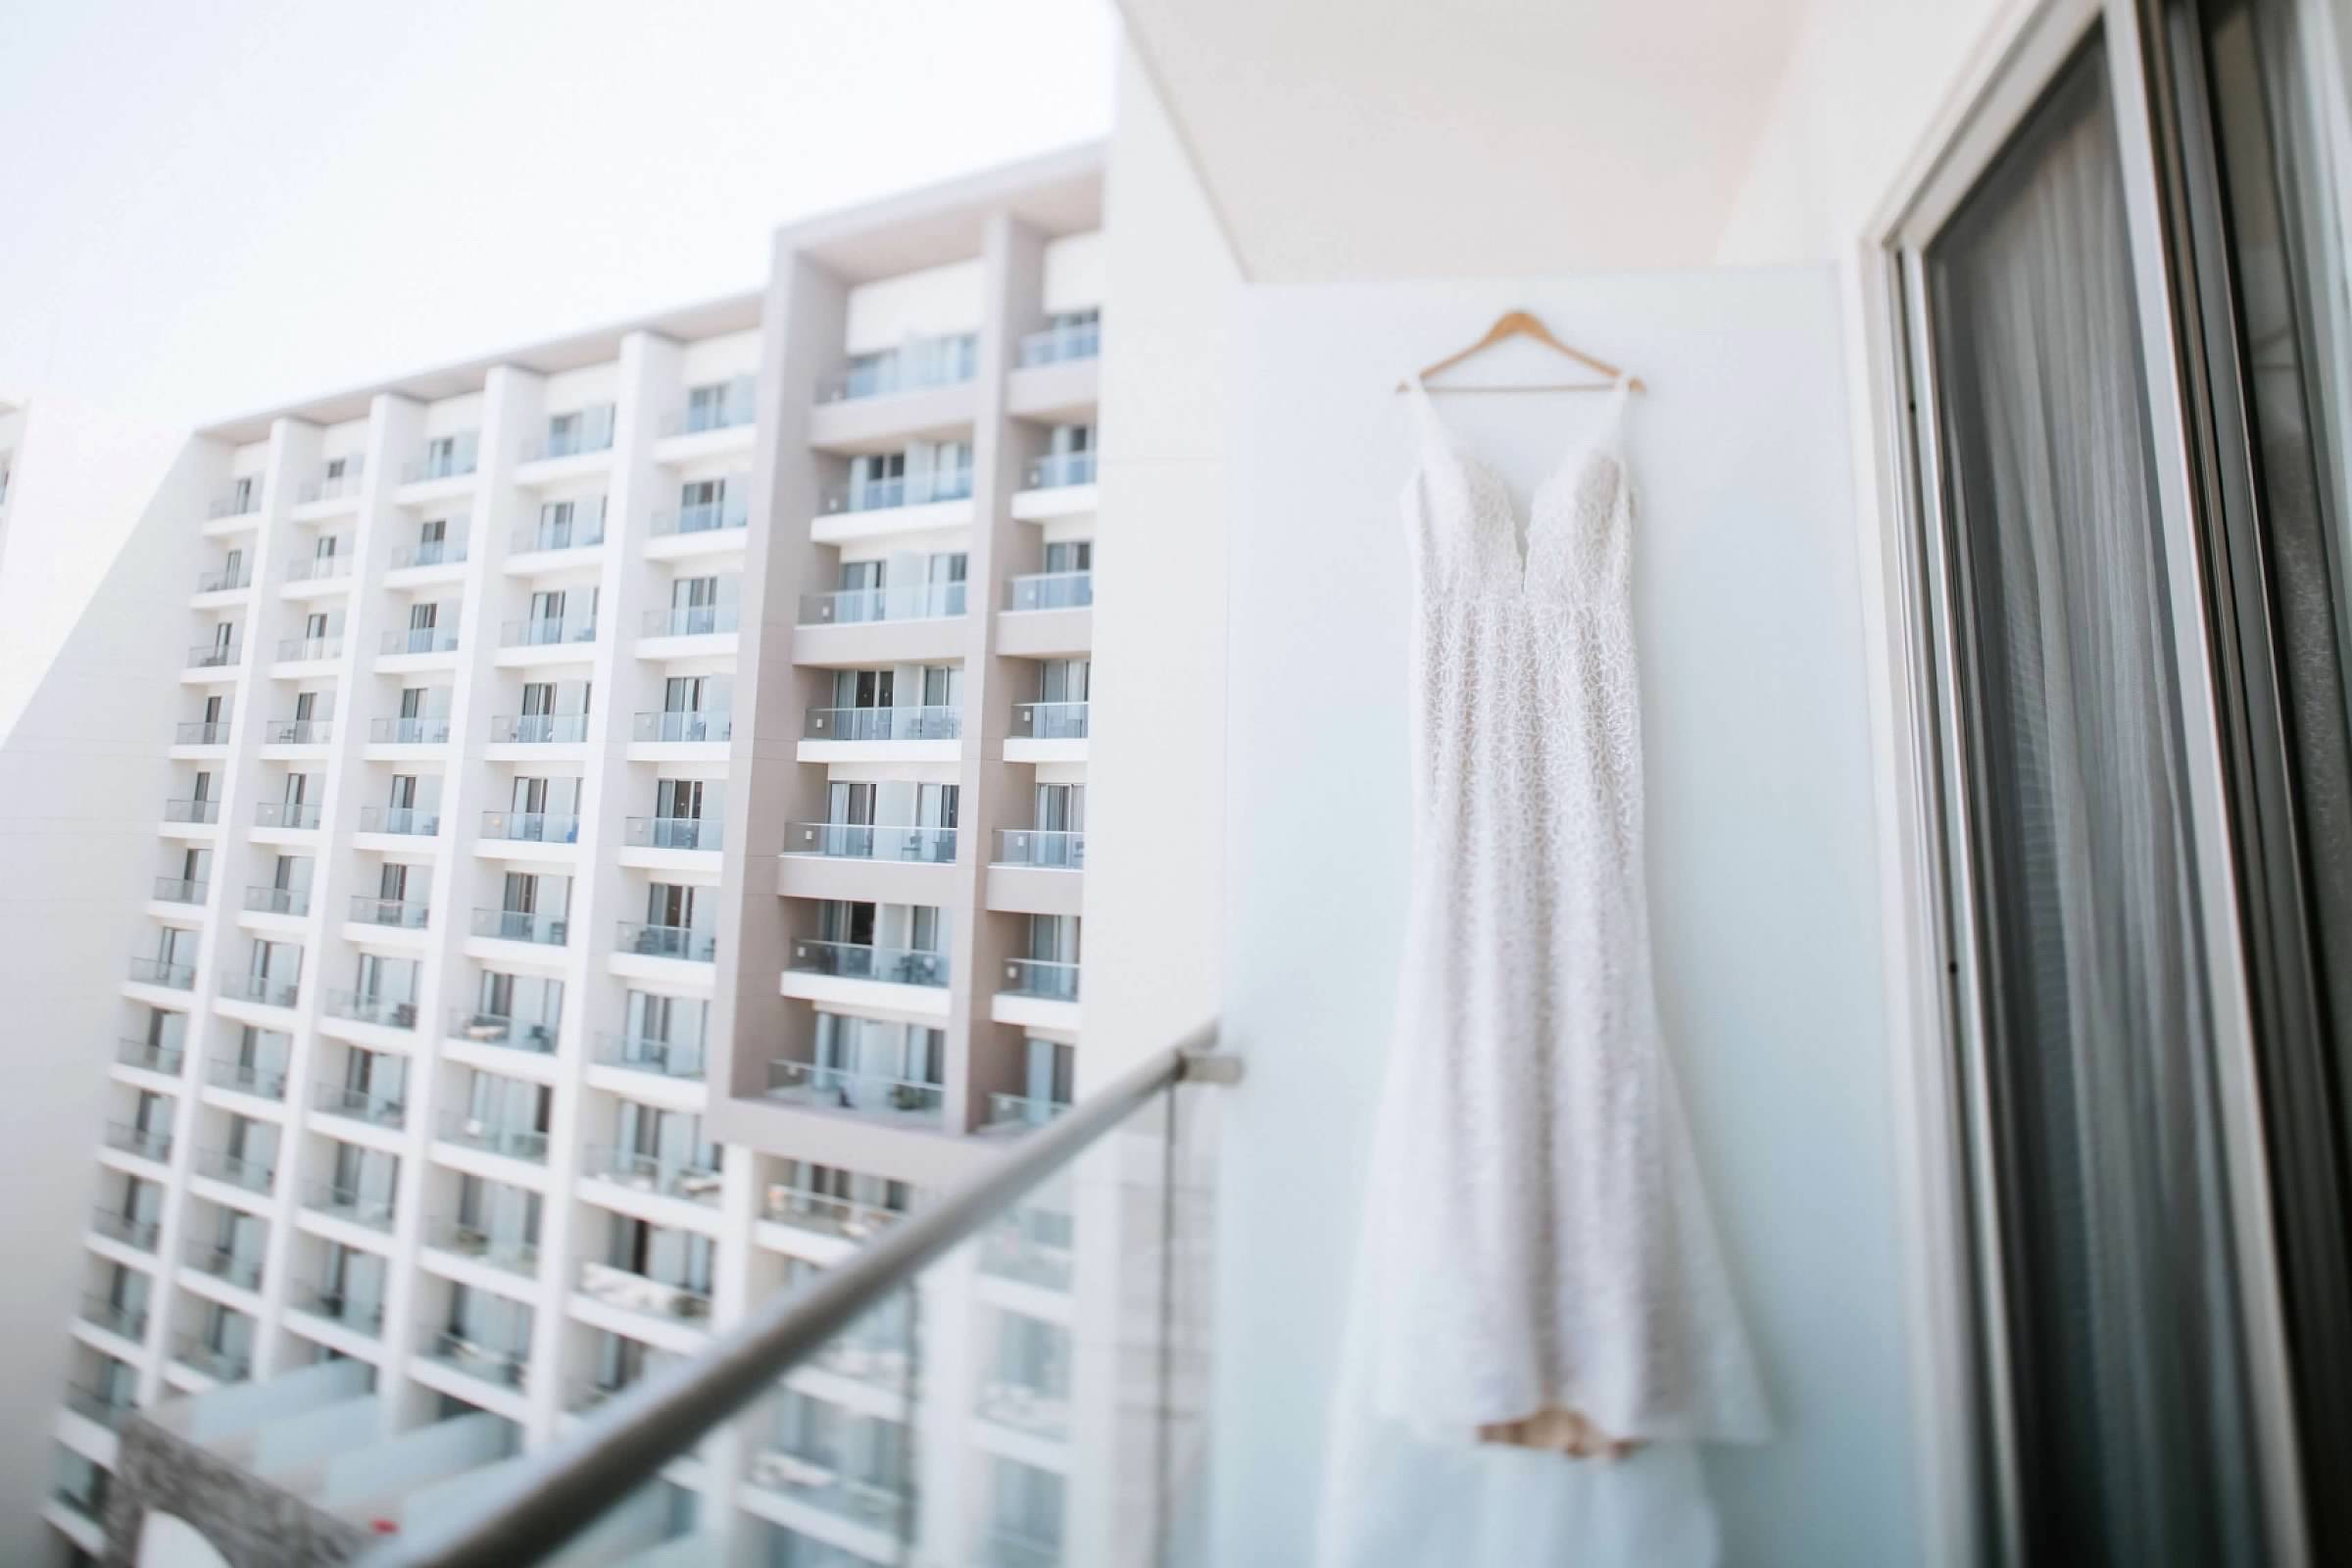
I bought my dress at Marie & Marie bridal in Sioux Falls, SD. I told them I didn’t want to spend more than $1500, and they brought me to an area that had about 20 dresses to choose from. I ended up spending $1700 due to needing two inches of length added to my dress. I got it tailored to fit perfectly by I Do Alterations out of Canton, SD. I got my veil on Amazon for $17 and my hair barrette linked here. My sister, Erin Park, is amazing at wedding hair and makeup, and she generously gifted those services to me as a wedding gift! Our bridal party did their own hair/makeup and helped each other out if needed. I really didn’t care how they did their hair/makeup, as long as they were comfortable and felt beautiful! Our resort had options for HMUA, but I wouldn’t have been able to do a trial run, and didn’t want to mess with that. Same thing with photography — they had several options, but the look I wanted wasn’t something available. We ended up paying for our photographer from South Dakota to come with us! Mychelle Kaye Photography came for three days and brought her boyfriend along as well. We paid for her trip, and invited her to bring her boyfriend at her own cost if she wished. We’re so thankful they could come! Lastly, and this is a strange one, I made my own bouquet as well as my MOH’s 🤣 They’re fake flowers I got from a bridal thrift store in Sioux Falls, and the center flower is from Etsy (it’s called a king protea). I have a reel on my Instagram showing how I made it, and then I just traveled with it in a large bag on the plane!
The People
We’re so glad we chose to do a destination wedding! I don’t think we’ll ever be able to go on a child-free trip like this again with all our friends/families. It as so special to be able to spend quality time together for so many days. We of course as so grateful our guests paid to come, and we know that it isn’t something everyone can pull of. If it can work for you and your loved ones, I highly suggest going this route! Not everyone got to come due to scheduling or childcare needs/family planning, but we are still talking about the best party ever. Which is really saying something considering I was stone sober 💀 Also — turns out attending a destination wedding is a great way to make a baby! We have SEVERAL Zerr wedding babies that were born. In the end, it’s the PEOPLE that make the wedding, and we couldn’t be luckier.
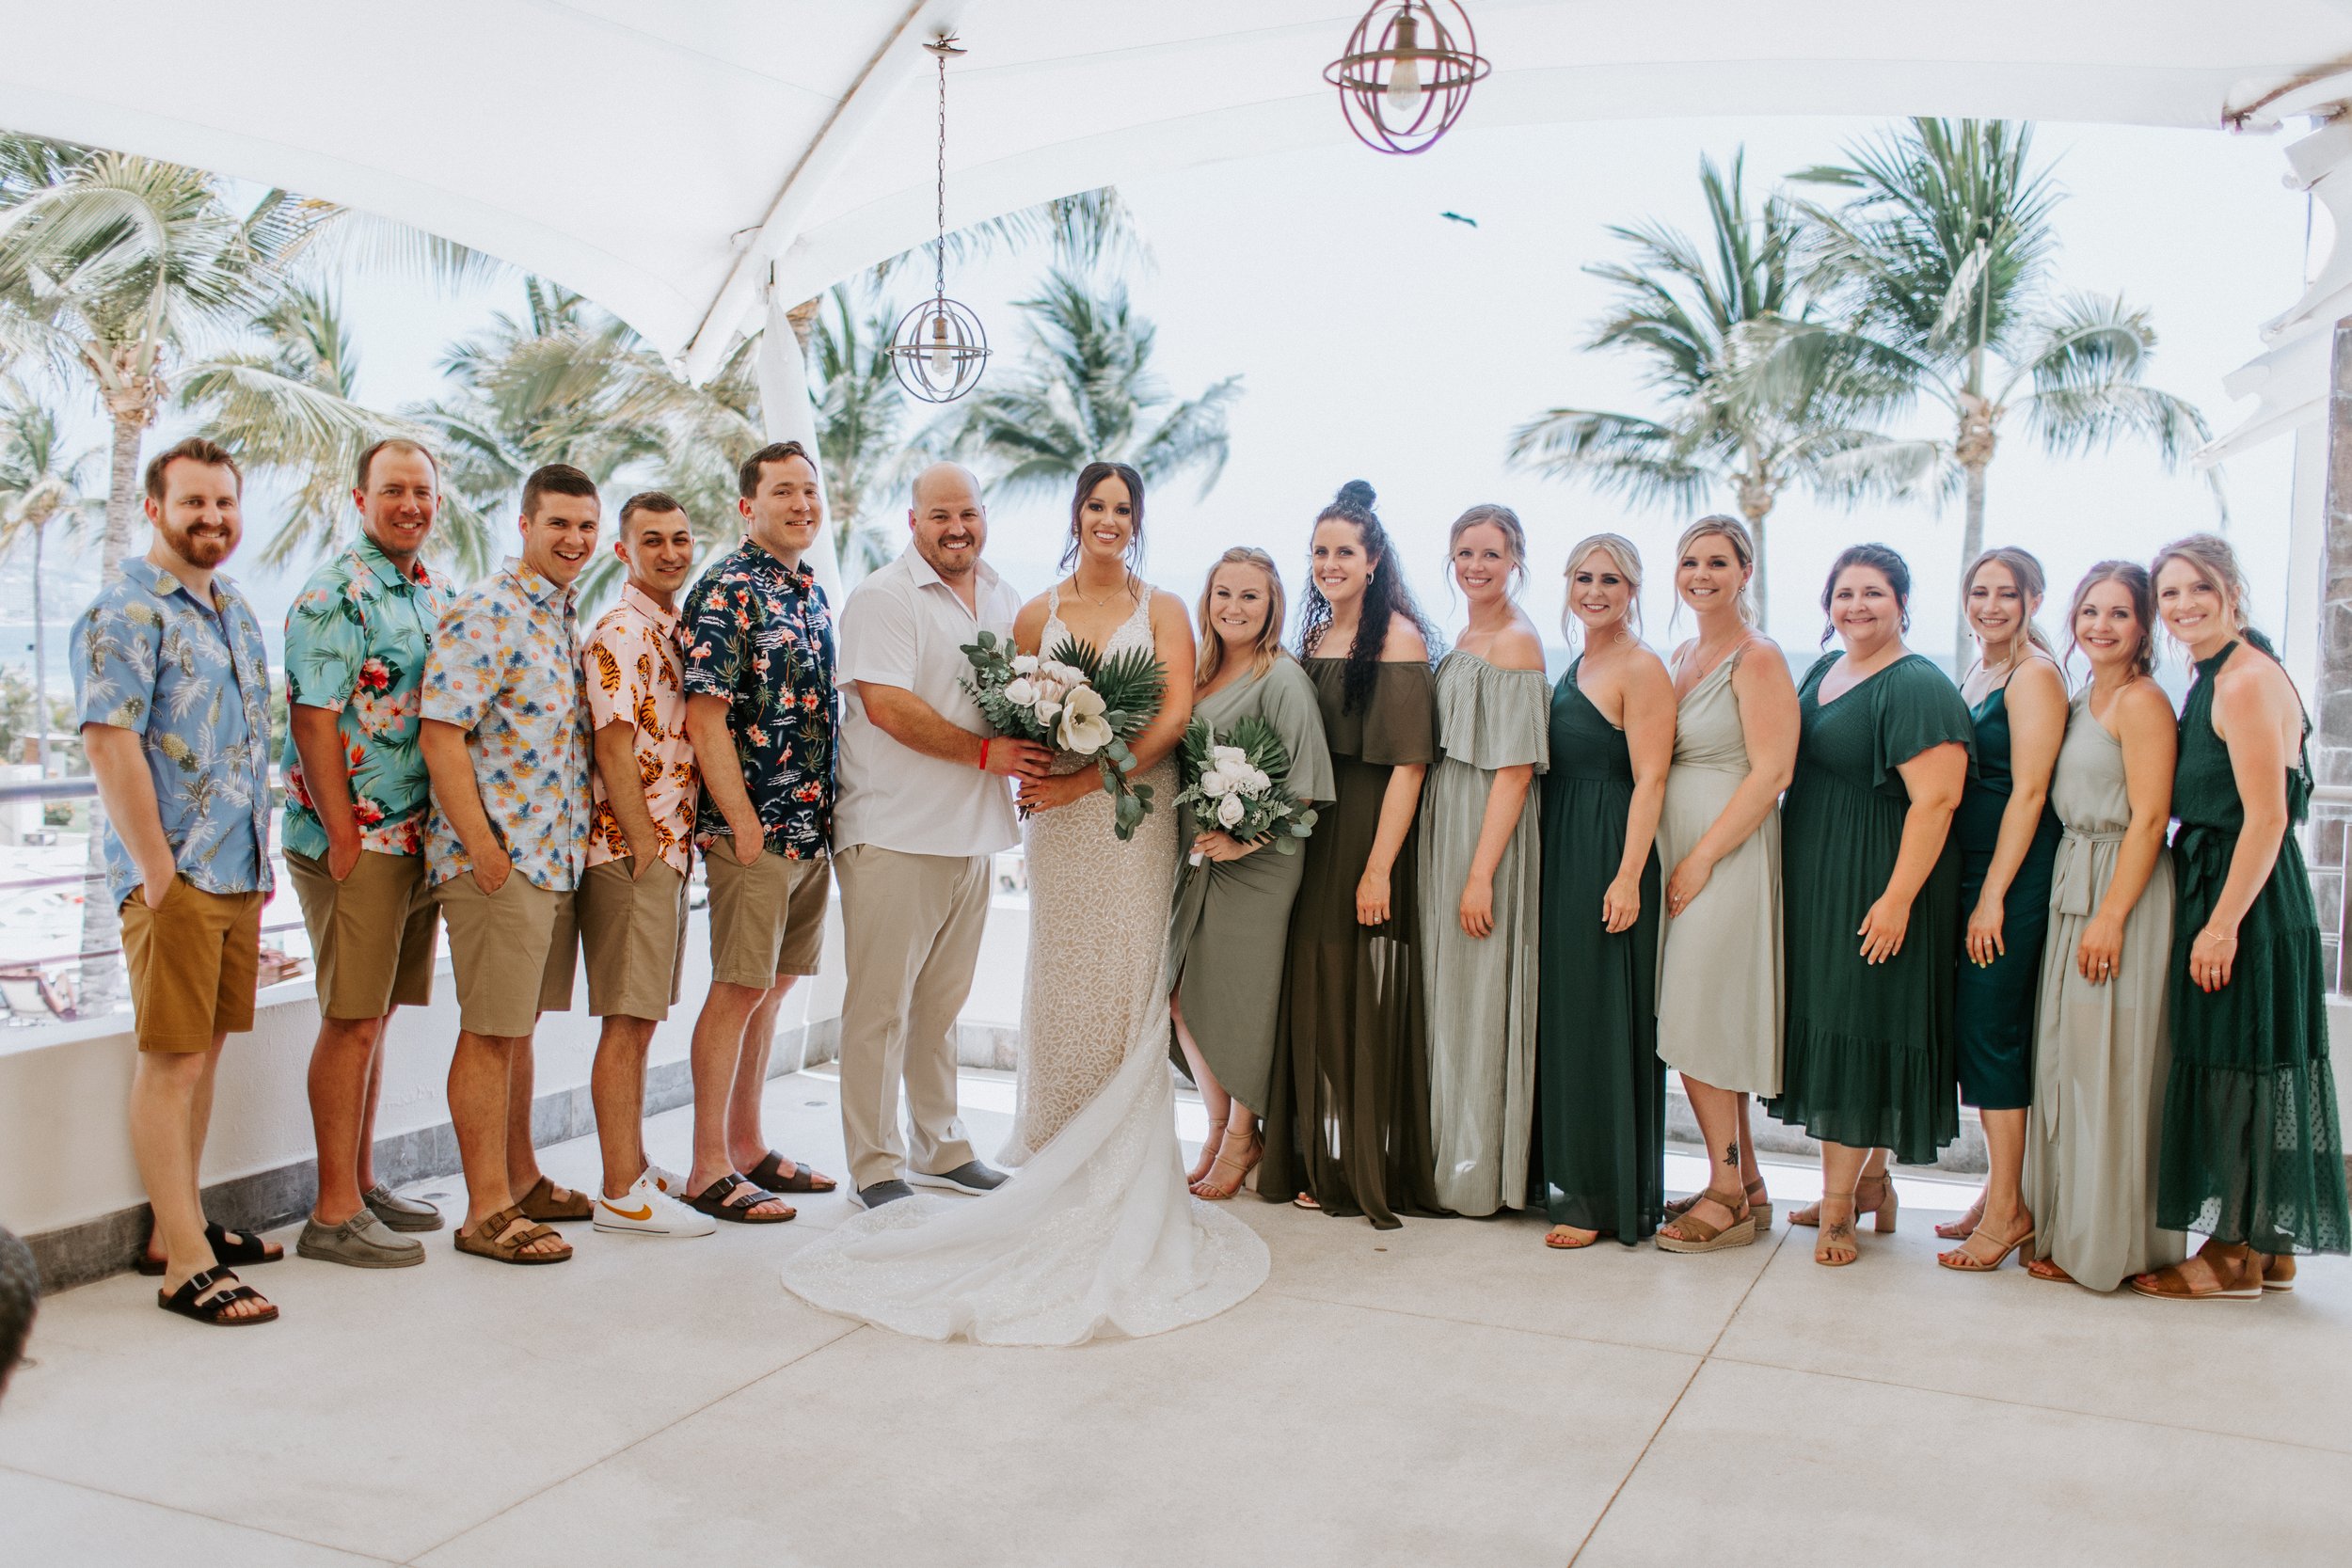
Our cutie wedding party
Content Creation Tips & Tricks
What started with an internship at a luxury shopping mall quickly turned into a passion and hobby. I’ve been creating content since 2013, and have recently started taking things more seriously. Here are the tips & tricks I’ve learned so far!
In 2013, I started an internship at NorthPark Center in Dallas, TX. I worked with the marketing and PR team for all things fashion, social media, and luxury. I quickly found that I was obsessed with styling news anchors, sharing about skincare products on the local morning shows, and talking about what to get for dad this Father’s Day on the radio. Things were definitely not as digital then as they are now, and the word “influencer” certainly didn’t apply to someone taking photos on Instagram. This was the blogger golden era! Think Emily Ann Gemma, Caitlin Covington, and having kitschy names like “Southern Pearls & Curls” or “That Chef Girl” for your blog name.
So, now I have this passion that I put on the back burner for several years while I focused on health and my career, that has completely changed since I first found it. In a more digital world, of course radio, television, and in person events aren’t exactly what they used to be. In order to reach people as effectively as I did in more traditional methods, I was going to have to go digital! I’ve become so intrigued by the algorithm, what makes certain people more popular than others online, and how to hone in on your craft in a world filled to the brim with oversaturation; what is my niche?? Here are my tips to get started, as I learn alongside you:
GET ONLINE
Don’t have a TikTok? Make one. Never had an Instagram? Head to the app store. In order to do any of the following, you’ll need an account. So chop, chop, little onion!
RESEARCH
Next, I’d start researching. In 2023, I decided to start digging more. I carefully collected data from all different types of TikTok and Instagram influencers, and I quickly learned one thing — each one focuses on one particular theme. Sure, they may share about an upcoming tropical vacation, but if they’re a fashion influencer, they’re pulling outfits for that vacation, not telling you about their favorite vacuum cleaner. The best advice I give is just that; focus on, and decide, what your niche is. In order to figure that out, you absolutely need to do the following!
CREATE
I always learn best by playing around and experiencing things myself. Some of my best content was made by just messing around. There is no shame in trying something new, expanding yourself into a new territory, or “failing” — fail forward and make the goofy reel/TikTok! I suggest starting with just capturing your daily life (think morning routine, how you pick your outfit for the day, making your morning coffee, your essential items that belong in your vehicle, what’s in your desk at work, etc.) In order to figure out what the niche is in your community, you have to start with a range of content! Most importantly, remember THERE IS NO PRESSURE. People are not holding you to an imaginary standard to make professional grade photos/videos. Take a 3 minute long video of watering your plants, take a photo of your dog. Whatever you make, just make sure it represents who you are as a person — this is why people follow you to begin with 😘 We’ll dig into my favorite content editing options towards the end of this post.
ANALYZE
Start by making your Instagram a professional account if you haven’t already; this will give you all the analytics that a normal profile will not. After that, check your insights! What posts have you made that got the most engagement? Which ones were shared, commented on, and liked the most? Let your followers show you was they want more of by checking out what you’ve already created! TikTok is the same way; they prepare your analytics for you, and serve them on a silver platter in your notifications. The only difference is that you do NOT need to switch your account to a different type.
STRATEGIZE
Now that you know what you’re going to create, you need to plan the how and when. Buzzfeed strategist, Coco Mocoe, suggests starting with no less than three posts per day so that the algorithm understands who you’re trying to reach. After roughly a month of posting three times daily, Instagram/TikTok will start pushing your content to the For You pages. This is why it’s so important to hone in on what you want to help your community with the most! Building your following will take time, patience, and dedication — hang in there, and get ready to learn!
Celebrate your successes, learn from your growth opportunities
You’ve done the hardest part! Getting started is 80% of it. The other 20% is keeping it going!
Here are some of the things I’ve learned recently that have helped grow my following significantly. I highly recommend listening to this The Skinny Confidential podcast featuring Coco Mocoe. She gets granular on ways to beef up your following, how to stand out in a sea of influencers, and what she predicts is coming next.
STYLE
I’ve learned from the greats that having your grid posts (mostly) match in style/color/font helps catch the eye of those visiting your profile for 2 seconds. In those 2 seconds, they’re deciding if they want to follow you or not, long term. People like to be able to see what your posts/reels are actually about, not just an aesthetically pleasing photo, so pick a cover photo for your videos that shows what happens in that video. I find it super helpful to feature text in cover photos!
TOOLS
Apps - I use several different photo editing apps to achieve the look I want for my posts. My favorite for stories is Canva! It’s a free app, but if you want to use tools like background removal, watermark removal, etc. you’ll need to pay for the annual/monthly subscription (I think it’s only like $10/month). Educators get Canva Pro for free if your school is eligible! Another tool I absolutely love is Faceapp. Sometimes, I’m the only one in a group photo not looking my best. What better than to fix my face, and keep a photo I love for years to come? Faceapp is $60/year and super user friendly. You can fix your hair, skin, smile, makeup — it’s truly amazing, and a pageant girl secret. The app I use most of all is Lightroom to edit photos. The app itself is free, however I did purchase some “presets” from Baya Rae Photography (@baya.rae.photography on Instagram) to edit my photos more easily. I had to upload the presets into Lightroom, but now editing has never been easier! Even the darkest photos can become light and airy.
Equipment - There are a few things I think all content creators need, so I’ll list them here! The item I use daily is the Octobuddy silicone suction thing that sticks to the back of your phone, and then allows your phone to stick to any hard surface. I’ve done it on walls, mirrors, cabinets — it’s awesome! And at a price of $13, it’s well worth it. I also regularly use this LED ring light tripod phone holder. It comes with a little Bluetooth remote to start your videos from a distance too. The ring light makes a huge difference, and can be turned to three different shades. This is also tall girl approved, as you can adjust the legs to any height 🤣 Lastly, this TikTok influencer, Alix Earle, recommended clip on LED light is amazing. It can clip to your phone so you don’t have to haul your giant ring light stand around.
That’s all I know for now, as I’m still learning too! I see this as an ever-evolving blog post that I’ll continue adding to. If you’ve made it this far, thank you for reading 💕


